Setting Up Your New Dr. Dish CT+
Get ready to start getting up reps with these simple steps.

STEP 1
Download the Dr. Dish Player App & Create Your Account
Download the Dr. Dish Player app
- Sign Up by entering your name, email address, and personal pin. This account will allow you to log in to your Dr. Dish machine.
- The Player app will allow you to view all your stats and percentages
- To manage or create a team, create leaderboards, and build or assign custom drills that sync directly to your machine, be sure to utilize our online Training Management System: tms.drdishbasketball.com
STEP 2
Unbox Your Dr. Dish Machine
- Lift the box off of pallet and machine by cutting the straps
- Cut off all white zip ties, (do NOT cut any black zip ties)
- Remove the shot counter from the back of the machine
- Remove protective plastic wrap from the entire machine
STEP 3
Assemble The Ball Feeder & Distance Adjuster
- Cut white zip ties off the Ball Feeder
- Remove cardboard spacer lowering Ball Feeder
- Install Ball Feeder by inserting 2 M8 Bolts & Washers
- Attach the Ball Distance Knob by twisting until tight, and move the Distance Lever to position 2
- Install the Ball Distance Plate using 4 M6 Screws & Washers
STEP 4
Remove Your Machine From the Pallet
- We recommend two adults remove the machine from the pallet
*The Dr. Dish weighs 296 lbs/134.3 kilos with all four wheels attached - Move the machine so the back wheels are off the pallet and resting on the ground
- Grab the front of the machine, twist it to the side and set the front of the machine on the ground
STEP 4
Assemble The Shot Counter
- Route the power cord from the shot counter basket through the shot counter handle until it comes out of the oval opening
- Insert Shot counter Head into Shot Counter Handle
- Using the 8 mm Allen Wrench & 17 mm Open Wrench included, bolt together the Shot Counter Basket and Shot Counter Handle
STEP 6
Set Up Your Dr. Dish for Use
When you're ready to start shooting, with the machine away from the basket:
- Rotate the base of the Machine until at a 45-degree angle
- Extend all 4 netting poles until snapped into place, ensuring the net is not caught in frame
- Pull the netting handle outward and down to raise the net
- Once the handle is fully snapped into place, flip down the yellow safety latch to lock the net in position
- Insert the Shot Counter securely on the back frame of the Dr. Dish and tighten the knob and connect the power cord
- Wheel the machine directly under the basket until the rear poles are even with the backboard
- Once in place, lock the wheels of the machine
STEP 7
Power On & Connect to WiFi
- Using a type W 120V extension cord, connect the machine's cord into an outlet
- Hold down the HUD Power Button for 5 Seconds until the screen turns on
- Click ‘Start Shooting’ in the bottom right corner of the Loading Screen to access the Home Screen.
- On the Left side, select the WiFi logo to connect to your Network
STEP 8
Getting to Know Your Dr. Dish
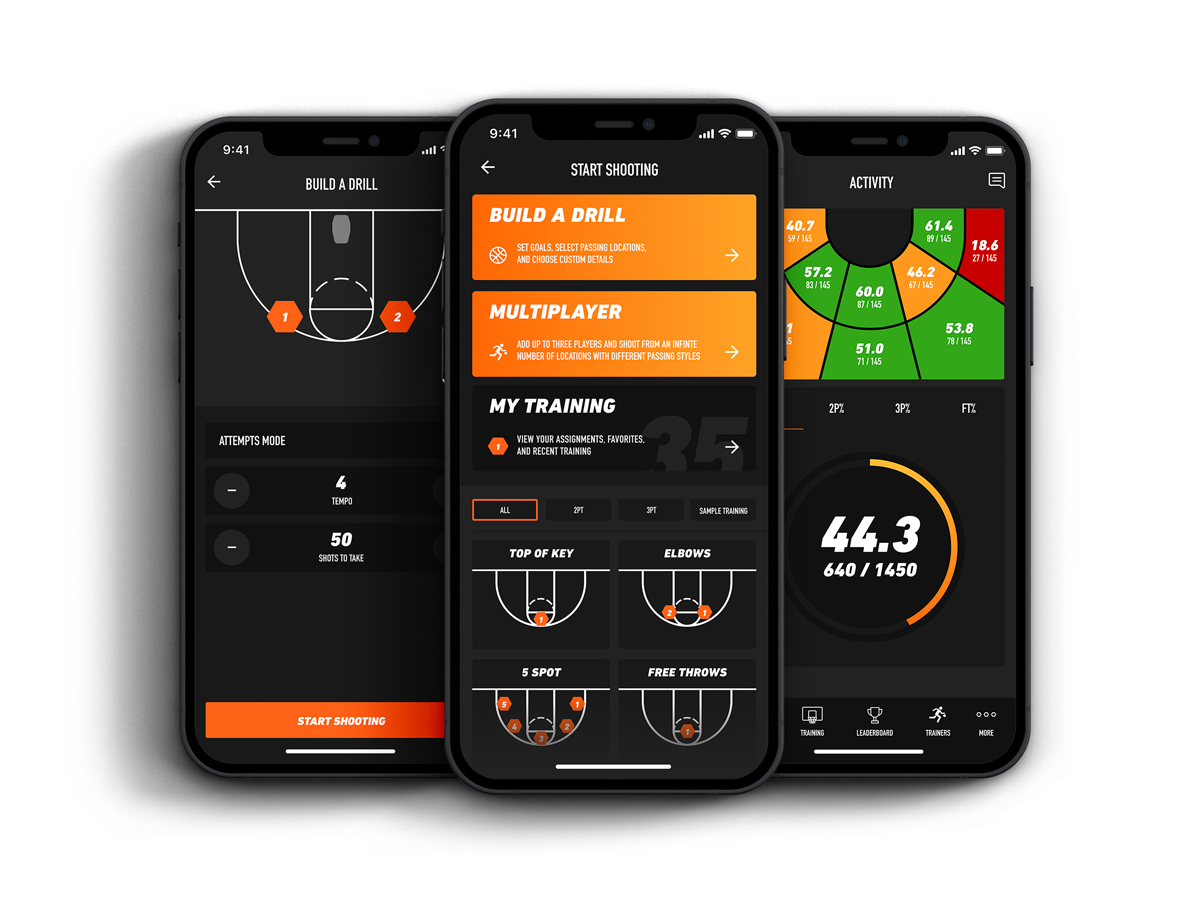
The Home Screen displays multiple ways you can use the machine to get started shooting. Check out some of our favorite features below:
- Build a Drill - Completely Customize your training by choosing shot locations, drill modes, & attributes to fit your training needs
- Multiplayer Mode - Train with multiple users at the same time while still saving each user's individual stats
- Browse Training - View all the latest drills and workouts from some of the best NBA trainers and D1 Coaches
Need More Help?
Online Support
Get help for all of your support questions 24/7